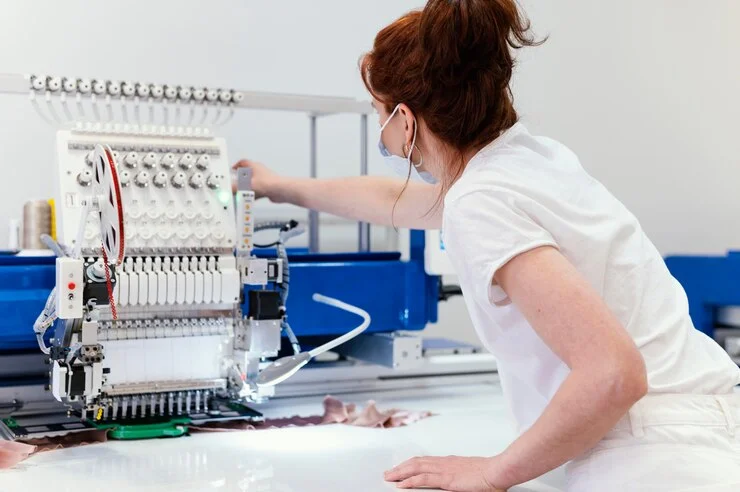
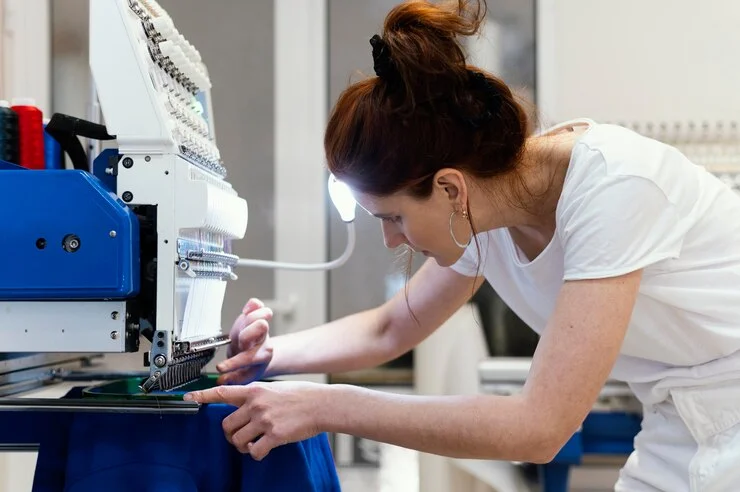
Embroidery machines are valuable tools for creating intricate and beautiful designs, but they can face technical issues like any machinery. Keeping them in good working condition ensures smooth and productive stitching. By understanding common problems and their solutions, you can save time and frustration while maintaining the efficiency of your machine. This article will discuss a comprehensive troubleshooting table for embroidery machines, covering key areas such as thread issues, stitch quality, and when professional help might be necessary.
Common Problems and Their Solutions
Machine Keeps Stopping
One of the most frequent concerns is the machine stopping unexpectedly. Why does my embroidery machine keep stopping? This problem can occur for several reasons:
- Thread Tension Issues: If the thread tension is too tight or too loose, the machine might stop mid-design. Adjusting the tension settings can help resolve this.
- Clogged Bobbin Case: Lint or dust buildup in the bobbin case can cause the machine to halt. Cleaning the bobbin area regularly prevents such interruptions.
- Improper Hoop Placement: If the embroidery hoop is not secured correctly, the machine’s sensors might trigger a stop. Always double-check hoop alignment before starting a project.
By addressing these issues promptly, you can ensure that your machine operates smoothly.
Thread and Needle Issues
Thread and needle problems are another common challenge. Brother embroidery machine troubleshooting often involves resolving thread breaks or needle jams:
- Thread Path Errors: Incorrect threading can cause the thread to snap or tangle. Always follow the threading guide specific to your machine model.
- Incompatible Needles: Using the wrong needle size or type can lead to skipped stitches or broken threads. Match the needle to the fabric and thread type for best results.
- Thread Tangles: To avoid tangling, use a high-quality thread and check that it is properly unwinding from the spool.
Maintaining the correct thread path and needle choice will minimize disruptions during your projects.
Poor Stitch Quality
Achieving consistent and professional-quality stitching is crucial for embroidery projects. Uneven or skipped stitches can be frustrating, but they often have simple solutions:
- Fabric Tension Issues: Ensure the fabric is tightly hooped to prevent puckering or uneven stitching.
- Thread Compatibility: Using threads that are not compatible with your machine can result in poor stitch quality. Opt for threads recommended by your machine manufacturer.
- Machine Settings: Adjusting the machine’s stitch length and speed can significantly impact the outcome. Test settings on scrap fabric before starting the main design.
Following these steps will help you achieve clean and precise embroidery results.
Error Messages and Malfunctions
Modern embroidery machines often display error codes when something goes wrong. Decoding these messages is an integral part of Brother embroidery machine troubleshooting:
- Thread Break Errors: This message typically points to a thread path issue or an obstruction in the bobbin area.
- Hoop Errors: If the wrong hoop size is attached, the machine might display an error. Always use the hoop recommended for your design.
- Sensor Malfunctions: Sometimes, a faulty sensor might incorrectly detect an issue. In such cases, restarting the machine or consulting the manual may resolve the problem.
If error messages persist despite troubleshooting, professional help may be needed.
When to Look for Professional Help
Some problems require expert attention. Knowing when to seek embroidery machine repair near me can save your machine from further damage:

- Persistent Errors: If error messages continue to appear despite troubleshooting, it might indicate a deeper issue.
- Unusual Noises: Grinding or clicking sounds could signal internal component wear or misalignment.
- Frequent Thread Breaks: If thread breaks occur repeatedly, despite proper threading and tension settings, a technician should inspect the machine.
Finding a reliable repair service is crucial. Look for technicians certified by the machine manufacturer or those with positive customer reviews.
Creating a Troubleshooting Table
A troubleshooting table is a valuable reference tool for resolving embroidery machine issues. Here’s how to create one:
- Organize by Problem: List common issues, such as thread breaks, skipped stitches, or machine stops.
- Identify Causes: For each problem, note potential causes like tension settings, bobbin issues, or hoop alignment.
- Provide Solutions: Include step-by-step fixes for each cause, ensuring clarity and practicality.
For example:
| Problem | Cause | Solution |
| Thread keeps breaking | Incorrect thread path | Re-thread the machine correctly. |
| Machine stops suddenly | Clogged bobbin case | Clean the bobbin area with a brush. |
| Uneven stitches | Fabric tension is too loose | Re-hoop the fabric tightly. |
This table will serve as a quick and effective guide for troubleshooting your machine.
Final Thought
Maintaining your embroidery machine is key to ensuring its longevity and efficiency. By understanding common problems like thread breaks, stitch issues, and error messages, you can address most concerns without professional intervention. However, knowing when to seek expert help is equally important to avoid further complications.
Creating and using a troubleshooting table simplifies problem-solving and helps you achieve consistent, high-quality results. Whether you’re a beginner or an experienced user, these tips will keep your embroidery projects running smoothly. Take the time to explore solutions, maintain your machine, and enjoy the art of embroidery without interruptions.


